In case you missed it, we've launched our newest Piercing Collection recently, with many pieces inspired by your pop cultural cult-favourites that you know & love. We even have a guide on how you can wear these gorgeous piercings on your body!
With all the new designs available, you may be overwhelmed and wonder how to style your ears. Whilst it is tempting to just wear on whichever pieces you want at the spur of the moment, it may be better to consider a few other things before you commit to your new piercings!
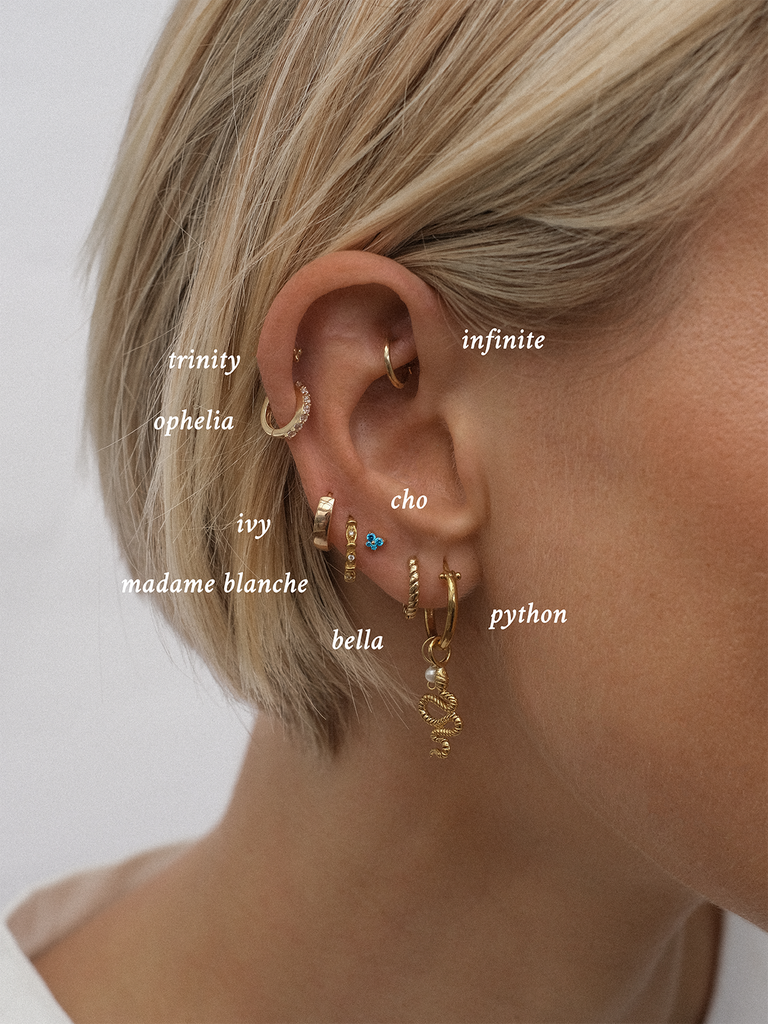
Before we get into it, here's a refresher of your ear piercing placements. Don't worry, we didn't expect you to remember them off by heart.

Please be advised that individual healing times may vary. You'll know that your piercing is completely healed when any discharge, puss, swelling, redness, flaking, or soreness stops.
- Lobe: High chance your first piercing is a lobe piercing, as it is the most versatile piercing for you to put on small dainty pieces to big statement ones. Your lobe piercings, which range from your firsts to thirds (or fourths) as you go further up your lobes, will be the least painful piercings you'll get. The expected healing time for your Lobe Piercings will be 4 to 8 weeks.
- Upper Lobe: Your upper lobes are somewhere in between your lobe and helix piercing area. As upper lobe piercings are very close to the edge of your ears, it is not very common to get these piercings in case of tearing. The expected healing time for your Upper Lobe Piercing would also take about 4 to 8 weeks.
- Conch: The conch piercing is located in the curved dome towards the large centre part of your ear leading into the ear canal. It is quite a painful piercing. Once your conch piercing heals, you can put in a stud or a bigger statement hoop to really highlight your ear. The expected healing time for your Conch piercing goes between 6 to 12 months.
- Helix: Located at the upper outer corner of your ear, helix piercings are located close to the edge where your ear folds into a lip. Surprisingly, this cartilage is quite thin, and this piercing ranks low on the pain scale when done with a needle. The expected healing time for your new Helix piercing would be around 2 to 6 months.
- Flat: Located in the flat area of cartilage below the upper rim of the ear where is the helix is and where the flap of cartilage where the rook is located, the flat piercing provides a large area for a unique piercing placement. It looks fantastic on its own or combined with other cartilage piercings. Your Flat piercing will take about 6 to 9 months to heal.
- Rook: Nestled near the inner ridge of the ear, the rook piercing has quite a thick cartilage which can mean a more painful piercing. The expected healing time for a Rook piercing is around 4 to 10 months.
- Forward Helix: The forward helix is the lip of your ear closest to your face. This piercing can be quite painful as it is near to many of the nerves closer to you face. The Forward Helix will take about 3 to 9 months to heal.
- Daith: A daith is the hoop that hugs the cartilage inside your ear. It can be tricky for some to get their daith pierced, depending on the width of the cartilage. A Daith piercing will typically take about 4 to 10 months to heal.
- Tragus: The tragus is the part of your ear in front of the ear canal. For some people this is quite painful, depending on the size and thickness of your tragus. The healing time for a Tragus piercing is typically 3 to 8 months.
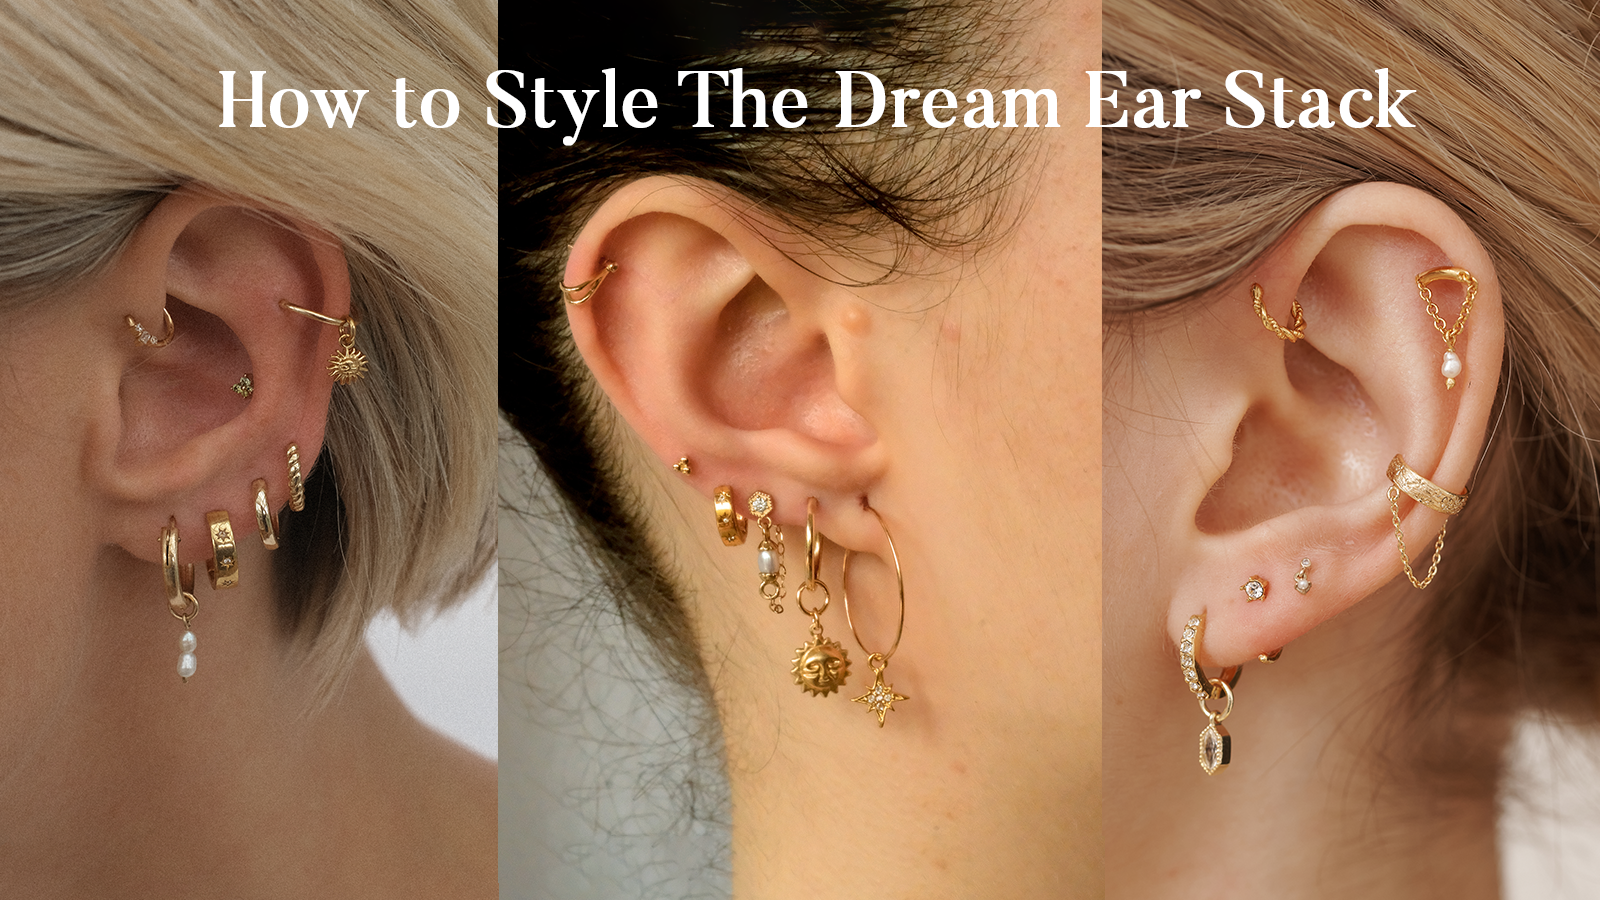
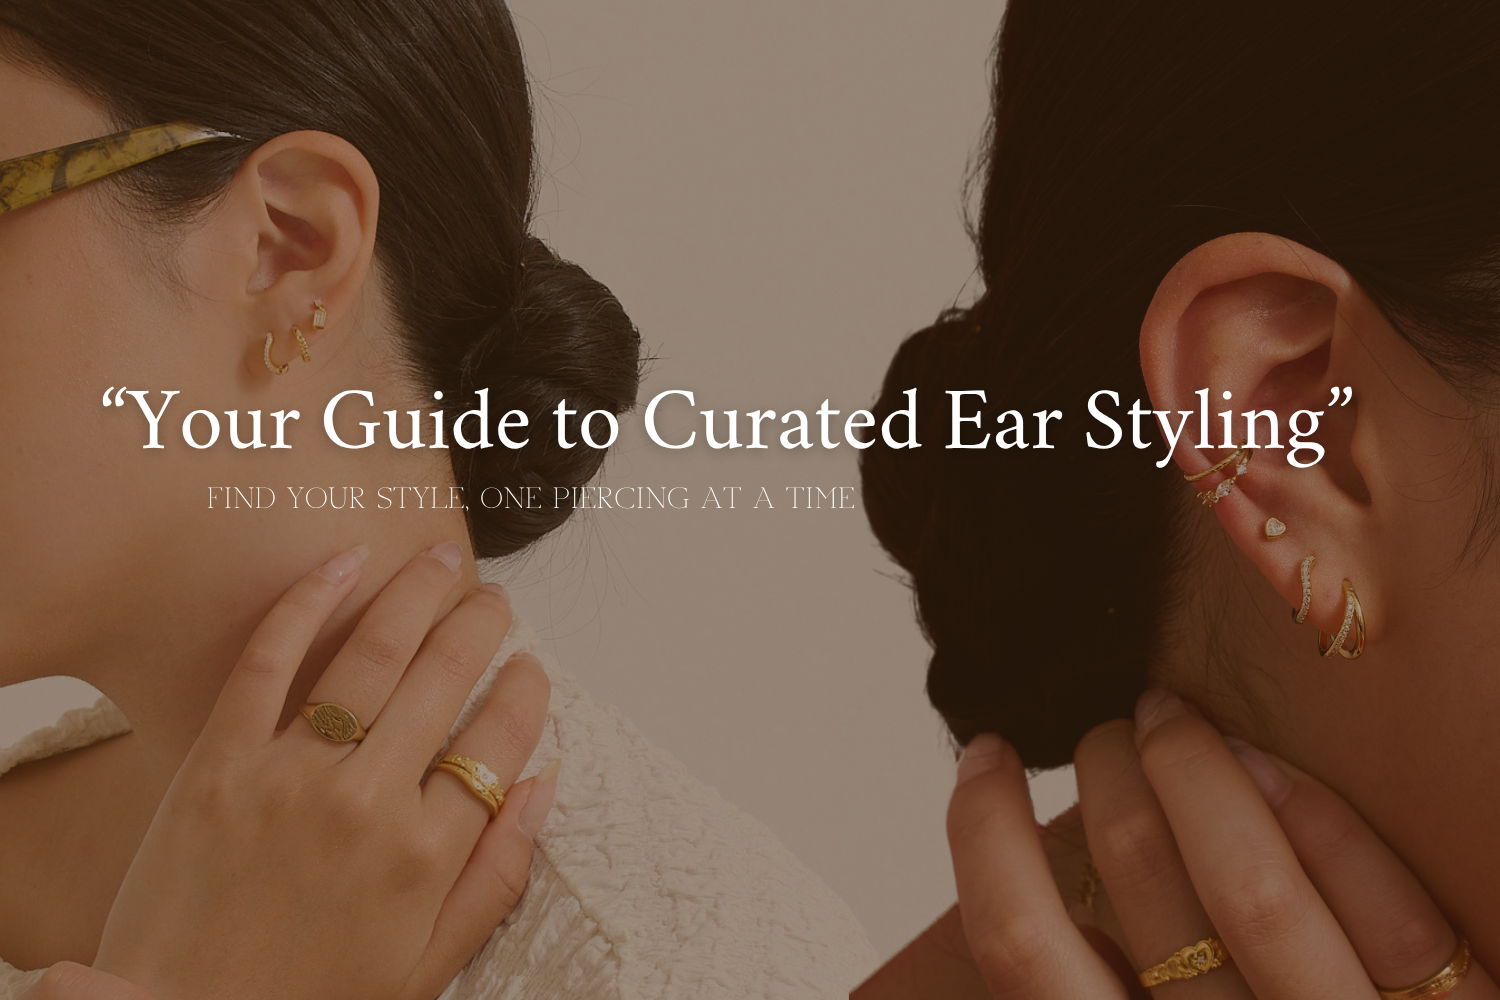
YOUR GUIDE TO A GORGEOUS EAR STACK
As much as we'd love for heads to turn at our amazing curated ear stacks, sometimes it isn't realistic for regular every day people like you and me who only have a few lobes or helixes pierced to have a full blown look, and that's okay. Here are our top tips to make your ear piercings more fun!

1. QUALITY THEN QUANTITY
Piercings are painful. Whatever reason it is that you're getting your new piercing for, it's important to wear quality jewellery. For piercings, look for 14K Solid Gold as it is ideal for piercings to heal safely. For healed piercings, 14K Solid Gold, 18K Gold Filled or Sterling Silver are great options that are long-lasting and won't tarnish — with good care, of course.
We highly recommend investing in good quality pieces that will be your ear stack staple, especially versatile and timeless pieces. What does that mean? Huggies, smaller studs, and infinite hoops that are interchangeable for your lobes and helixes would be perfect for stacking.
When going for studs, choose ball-back studs so that you can sleep in more comfortably without your hair or fabric tugging onto your piercing! If you're someone who swaps out your ear piercings often, you can go for a bolder statement huggie or stud piece that you can put in different placements of your ears.

2. LAYER STYLES & TEXTURES
With ear stacking, there are just so many styles and options available to make your look truly your own. You can customise the placements of your piercings to contour the look of your ear too.
Our tip: Don't be afraid to play with different styles and textures when you layer your ear stack.
This technique will give your ear stack a bigger impression and give you flexibility with different jewellery too. If you're bold, you can mix your metals too!
Some examples would be styling a plain hoop next to a pave hoop, or style a chained pearl stud to a minimal stud, or even adding a sparkly charm to your mix & match earring.
Want to refresh your pieces once in a while? Add charms to suit every mood & occasion to keep it exciting.

3. FOLLOW THE CASCADING RULE
When in doubt, follow the cascading rule! Style your lower lobes with bigger or more dangly pieces, then smaller pieces the higher you go up on your ear (thirds, conch, helix, etc.). By using the cascading effect, it will give your ear an effortless and elongated look that is balanced by the height of your jewellery.
If the next time you find yourself feeling unsure about how to style your many piercings, pick the larger hoops for your firsts, smaller hoops for your seconds, then a stud for your thirds. Doing this will also contour your ears nicely.

4. NO PIERCING? WEAR A CUFF!
Don't actually have a piercing? Add a cuff to your ear stack! It is a low-maintenance option for those don't have the piercing but want to jazz up their stack. With cuffs, you can wear them on your upper helix, lower helix, or even conch area. How do you wear a cuff? Simply put on your cuff to the thinnest part of your lower helix, then move it upwards until it fits tight and snug.

5. VISUALISE YOUR EAR STACK
Here're another alternative tip with building your dream ear stack: Snap a photo of your ears and Photoshop in the piercings you're eyeing on, to create your complete stack. Reach out for your bestie's opinion before you commit to any new fresh piercings or before buying any new piercing pieces.

Now, belted with all that information to create the perfect look, get started to making that dream ear stack into a reality. We've got plenty of ear stack inspo on our Instagram and across our Piercings Collection to guide you to styling different piercings.
Psst... We also have a bundle builder here where you can save 15% off at the end of your shopping.
We can't wait to see what you end up with! Xx
Love, Anna May from the S-kin Studio Team 💖


Leave a comment