
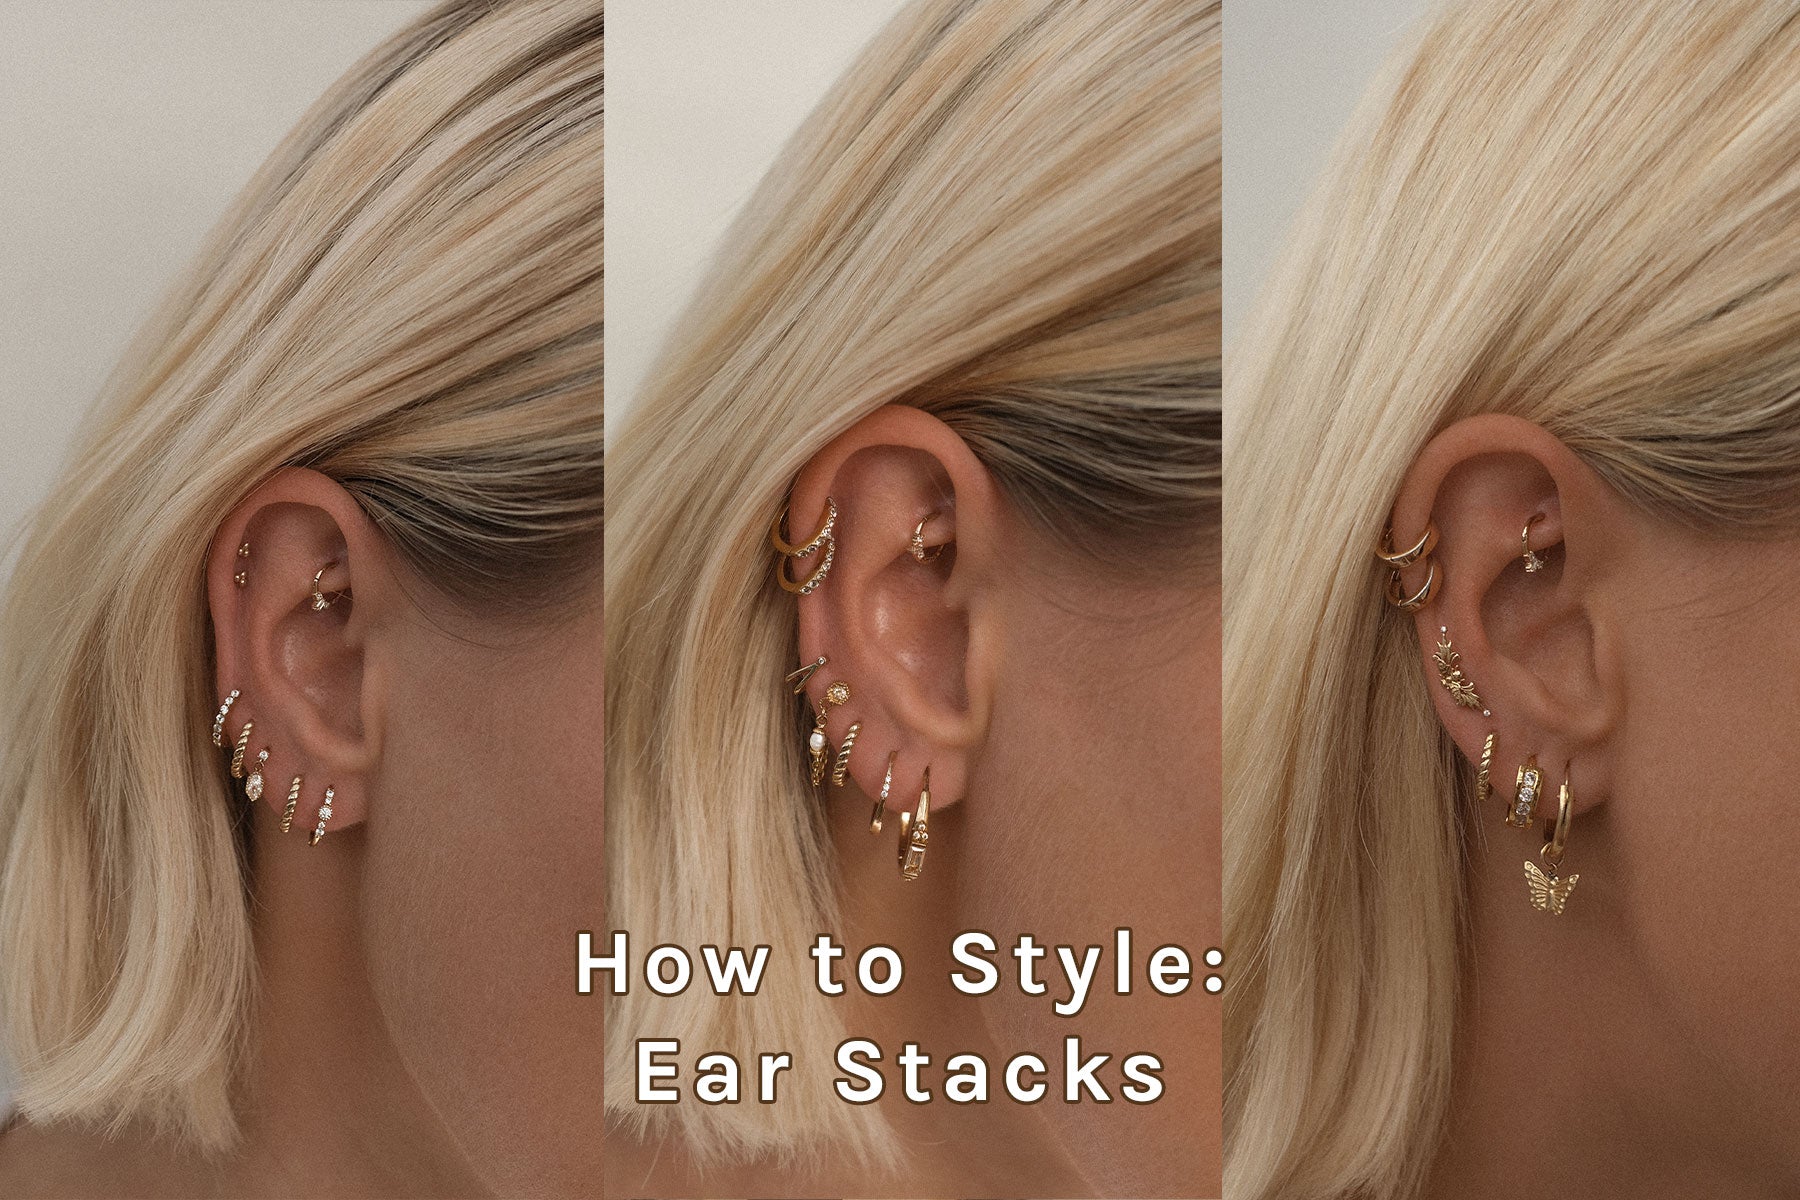
If you've been on our IG feed recently you'll know we're all about our ear stacks! If you are wondering, "what ear piercing should I get next?" or "how should I style my piercings?" this blog post is the one for you!
Piercing placements - the basics
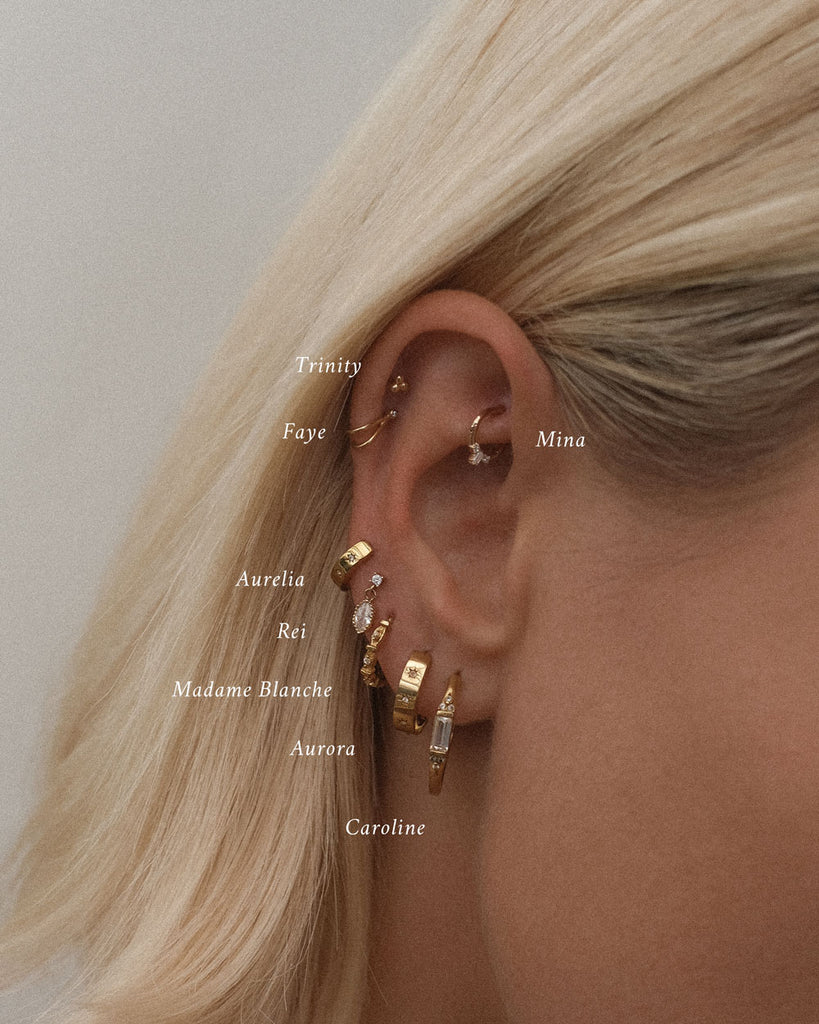
Before we jump in to all our jargons, it's useful to know the different types of piercing placements and what they are called.

- Lobe: This is likely the first piercing you get, and as the name suggests, piercings on your lobe or further up your lobe (seconds, thirds, etc.) are classified as lobe piercings. These are least painful to get, hence many start out with the first lobe then add seconds, etc. Healing time: 4-8 weeks
- Upper lobe: the upper lobe is where the ear lobe gets skinnier and is accompanied with cartilage. Generally piercings in this area are close to the edge and hence not as common. Healing time: 4-8 weeks
- Helix: located on the upper quadrant of the ear, helix piercings are usually close to the edge of the ear where your ear creates a lip. As the cartilage here is quite thin, the piercing ranks low on the pain scale when done using a needle. Healing time: 8-18 weeks
- Conch: located on the curved dome in your ear, the conch is generally a more painful piercing but it can be worth it as this area is quite large for most people and would look great with pierced jewellery. Healing time: 3-8 months
- Rook: A rook piercing is done near the inner ridge of the ear cartilage, parallel to the outer rim of the ear. The rook involves quite thick cartilage and can be slightly more painful, but with a skilled piercer and when done with a needle it provides a lot of flexibility for styling. Healing time: 4-10 months
- Daith: A daith is the hoop that hugs the cartilage inside your ear. It can be tricky for some to get their daith pierced, depending on the width of your cartilage. Healing time: 4-10 months
- Tragus: The tragus is the part of your ear in front of the ear canal. For some people this is quite painful, depending on the size and thickness of your tragus. Healing time: 3-8 months
- Forward helix: This refers to the lip of the ear that is closest to your head, right next to your rook. Healing time: 3-8 months
The key to a drool-worthy ear stack
We all know the most eye catching ear stacks are those with a gazillion piercings, but that's not so practical when it comes to the every day people like you and me who only have their seconds or a helix when it comes to piercings. So here's a few tips that make styling your limited piercings more fun, even with limited piercings!
1. Quality over quantity
We all know how painful it can be to heal a new piercing, so if you are styling a new piercing, it's important to go for quality jewellery. 14K Solid Gold is recommended for healing ears, and 18K Gold Filled are great for already healed piercings, or Sterling silver if you are opting for a cooler toned stack.
We recommend investing in a few key pieces that will make your stack sing, and those that are versatile for any piercing. Hoops that are huggie or infinite hoops tend to be interchangeable for both lobes and helix, so these are great for any ear stack. If you're going for studs in your stack, choose ball-back studs that you can sleep in, or if you are a frequent stacker opt for something bold that you can style in multiple placements.

2. Layer different textures
The beautiful thing about stacking is there are so many options available to you to customize your look. As a tip, we generally go with different styles and textures when layering, this helps give the stack a bit more oomph and let the jewels shine.
For example, style a plain hoop with a pave hoop next to each other, style a chained stud next to a minimal hoop, or add a dangly stud to a huggie-only routine.
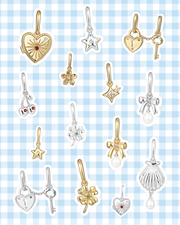
If you're feeling like your existing pieces can use a facelift, adding charms to them can be a great way to get multiple looks out of your existing collection.

3. When in doubt, go with the cascading rule.
The cascading rule is when you have your larger, more dangly pieces at the front (your firsts, seconds, etc.) and smaller, more huggie or stud pieces the higher you go up the ear (thirds, conch, helix, etc.). This gives the effect of an effortless, elongated ear stack, balanced by the height of your jewelry.
So the next time you're unsure on how to style your multiple piercings, go with a larger hoop or dangle piece on your firsts and smaller hoop or stud on your seconds and thirds. If you are adding charms, add longer and more bold charms towards the front and smaller charms for your upper lobes and helix.

4. No piercing? Add a cuff!
Adding a cuff is an easy way to break up your stack and give it the balance you need. It can give the illusion of a conch piercing - without the actual piercing! So try out a cuff to spice up your stack the next time you add a new piece of piercing jewelry to your rotation.

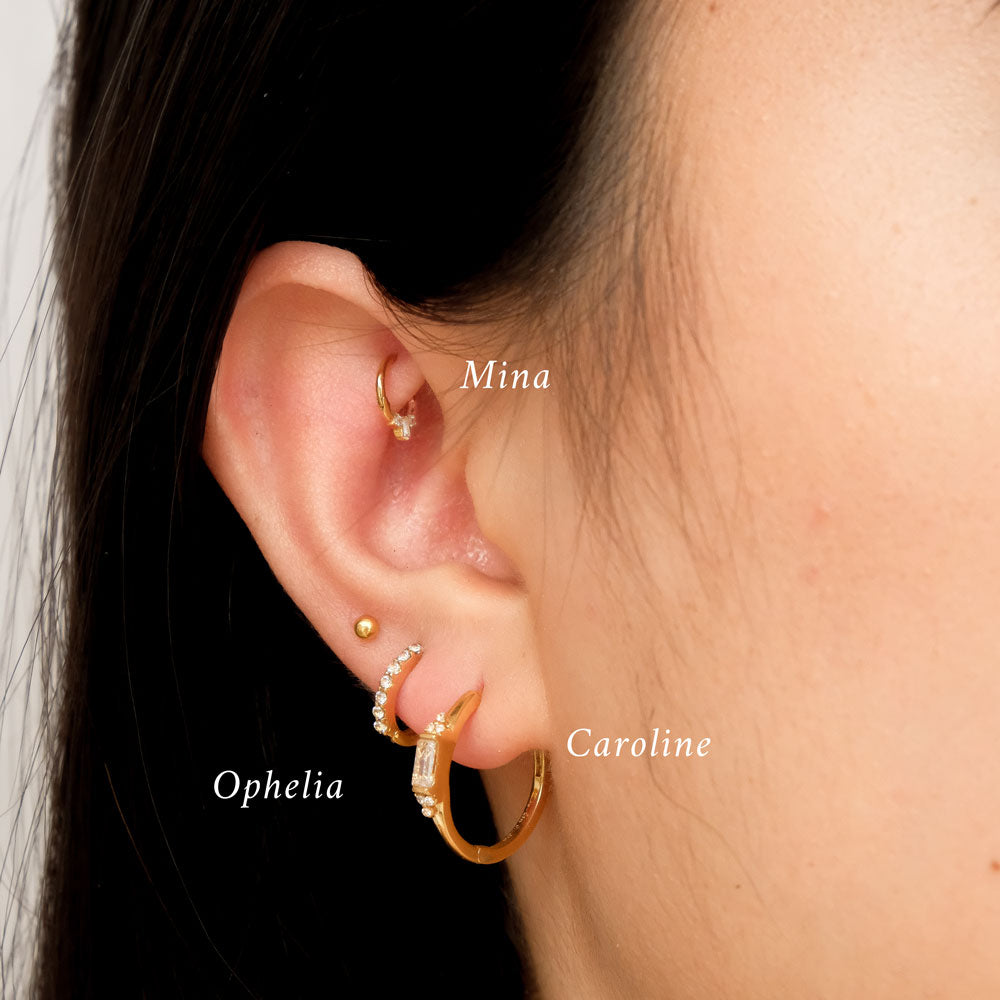
5. Stud vs. hoop - which is better?
There's no golden rule here - but we tend to stick with hoops on our lower lobes and studs for piercings that have less space to play with. For example, studs are great for flats, anti-tragus, and forward helix where there's not much area to play with. Hoops and studs are both great to go in the helix, so alternate them if you have both, i.e. hoops in your lobes and studs in your helix, or if you have a double helix - one hoop & one stud. The harder areas to dress with a stud are generally cartilage piercings such as the conch, rook and daith - these are best with a designated hoop or a curved bar.


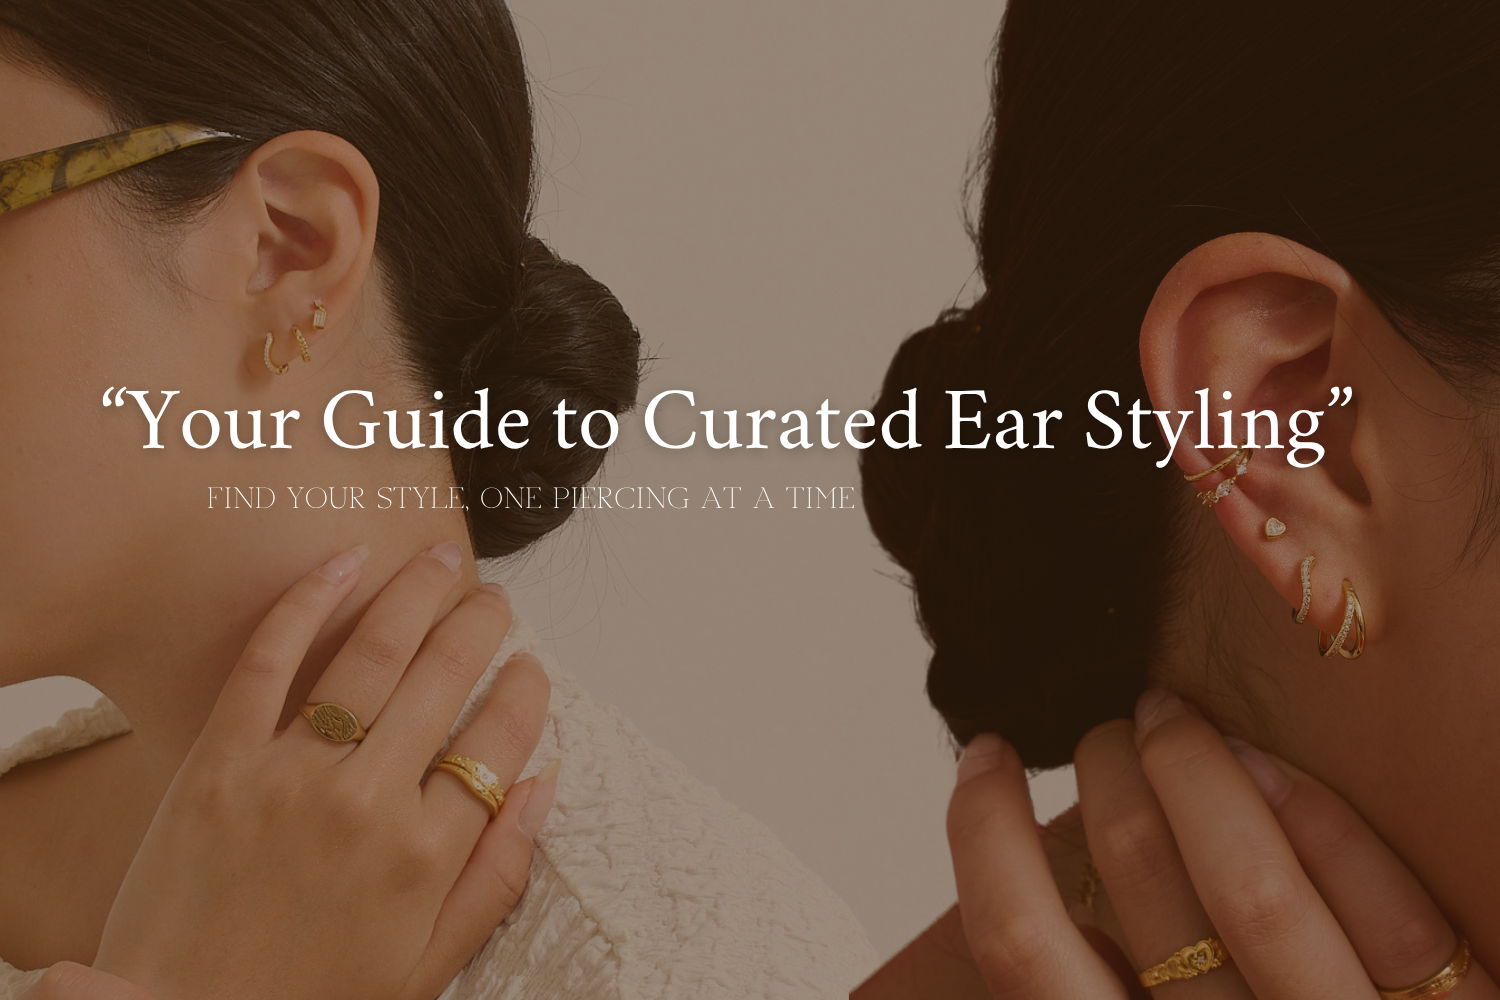
So now you have a few tips and tricks to how to nail your look - but don't know where to start? We've compiled a few of the looks we've created in the past so you can see how we're styling different piercings - hopefully this gives you more inspiration to shop for your next stack! And don't forget - we have a bundle builder here that will help with all your piercing placement needs - plus a 15% off! So get stacking xx


Leave a comment